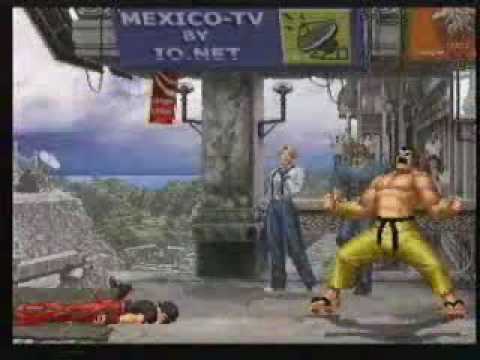
The King of Fighters XIII Trials - Saiki
King of Fighters · Combo Video · 2012

Saiki's trial mode in this video reveals some of the toughest execution demands in the game, with VesperArcade breaking down the specific techniques required to clear each challenge. Trial 5 focuses on buffering mechanics during charge inputs, while Trial 9 demands precise timing to activate OD Mode mid-combo after a string of standing light kicks. Trial 10 presents the real difficulty spike: landing a super-low hop air normal to connect into a follow-up special, then dealing with the directional reversal at the end—forcing a LEFT-facing input instead of the intuitive RIGHT. The video's opening ranking places these trials at the absolute hardest difficulty ceiling, and the detailed annotations confirm why. Each sequence requires not just knowing the inputs, but understanding the timing windows and positioning shifts that separate execution from theory. Whether you're grinding through Saiki's moveset or studying how to approach notoriously difficult trial sequences, this breakdown cuts through the frustration and explains what's actually happening during each sticking point.
Original YouTube Description
Many people ask me my personal opinion on trial difficulty for games.
If the scale was 1 out 10 in difficulty
MVC3 - 3
SSF4 - 4
3rd Strike - 5
UMVC3 - 5
Blazblue - 9
KOF 13 - 10
Mini blog on Saiki trials
Trial 5
You can buffer the second C.LK when
doing HCBx2+PP
Trial 9
After the 3 C.LK's at the start, use this
motion to connect the QCB+LK and…
Show more →
Many people ask me my personal opinion on trial difficulty for games. If the scale was 1 out 10 in difficulty MVC3 - 3 SSF4 - 4 3rd Strike - 5 UMVC3 - 5 Blazblue - 9 KOF 13 - 10 Mini blog on Saiki trials Trial 5 You can buffer the second C.LK when doing HCBx2+PP Trial 9 After the 3 C.LK's at the start, use this motion to connect the QCB+LK and activate OD Mode. QCB+LK+HP. Trial 10 In the middle of the combo it wants you to connect a (Air)B+LK. You have to super low hop this in order to land fast enough to hit with
Source
From VesperArcade's YouTube channel