DBFZ: Broly 100% combo (ToD without Ultimate Z Change)
Dragon Ball FighterZ · Combo Video · 2018

Broly's 100% combo potential in this clip demonstrates the character's raw damage output with minimal resources—just Level 1 Sparking and a single assist. The route avoids relying on Ultimate Z Change, forcing a creative approach to TOD (Time of Death) execution. Finding damage this complete without the game's most accessible power-up mechanic presents a significant routing challenge, especially given Broly's limited combo variety compared to other cast members. The video captures the difficulty of discovering fresh damage sequences when the character's toolkit naturally gravitates toward repetitive paths. This is a practical lab showcase for players looking to maximize damage in realistic scenarios where Ultimate Z Change isn't an option—whether due to character positioning, meter management, or match state. The extended length reflects both the combo's complexity and the experimentation required to land something this optimized.
Original YouTube Description
Level 1 Sparking, 1 assist. Taking longer than I thought due to the lack of route variety that Broly has. Pretty darn difficult to find a different 100% route that isn't the one everyone in universe 7 is easily doing.
Source
From Persona Entertainment's YouTube channel

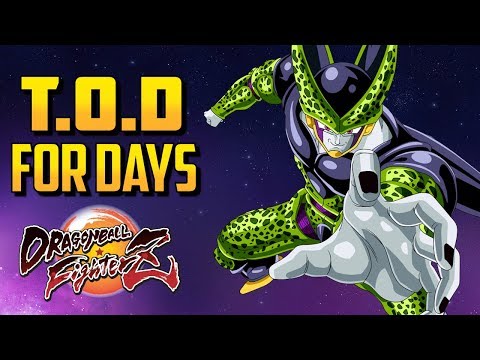







![DBFZ: What Happens when 2 Lv.5 Supers Clash? [Reflect/Clash/Dodge Showcase]](https://img.youtube.com/vi/RS5t8vgIkKo/hqdefault.jpg)
![DBFZ: Can Any Lv.3 Beat a Spirit Bomb? [Clash Showcase No.2]](https://img.youtube.com/vi/B6KMbfcSXck/hqdefault.jpg)