Kazuya Mishima Combo Guide (Season 4) | TEKKEN 7

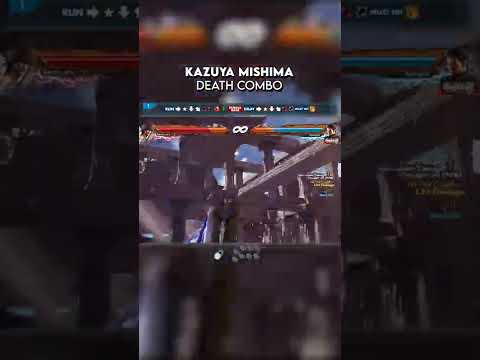
Kazuya's combo arsenal in this guide spans normal hit, rage, counter hit, and wall scenarios, with button inputs displayed throughout. RyzingSol breaks down staple routes alongside Devil Form transformations and low parry setups, then escalates into wall carry sequences that chain multiple wall breaks—stun bounces, balcony breaks, floor breaks, and multi-wall conversions. Each section isolates specific situations you'll face in matches, making it easy to identify which combo applies when. The progression moves from foundational damage routes into the high-execution wall carries that separate casual play from optimized offense. Whether you're building your Kazuya fundamentals or refining your wall game, this breakdown organizes his kit by practical scenario rather than arbitrary difficulty tiers.
Original YouTube Description
Thanks for watching! Don't forget to subscribe!
Kazuya Mishima combo breakdown guide with button inputs. Staple, optimal, and advanced routes. Combo list includes normal hit, rage, mini, counter hit, at the wall and wall carry.
➡️ Support & Follow Me!
➡️ Timestamps
0:00 - Intro
0:02 - Normal Hit
1:34 - Devil Form Combo (Normal Hit)
2:03 - Rage Combo (Normal Hit)
2:22 - Low…
Show more →
Thanks for watching! Don't forget to subscribe! Kazuya Mishima combo breakdown guide with button inputs. Staple, optimal, and advanced routes. Combo list includes normal hit, rage, mini, counter hit, at the wall and wall carry. ➡️ Support & Follow Me! ➡️ Timestamps 0:00 - Intro 0:02 - Normal Hit 1:34 - Devil Form Combo (Normal Hit) 2:03 - Rage Combo (Normal Hit) 2:22 - Low Parry Combo 2:48 - Small Combo (Normal Hit) 3:08 - Counter Hit 4:31 - Rage Combo (Co
Source
From RyzingSol's YouTube channel













![Tekken 7 Complete Character Overviews [4K]](https://img.youtube.com/vi/9ym-u3i6Ke8/hqdefault.jpg)